How To Do String Art On Paper
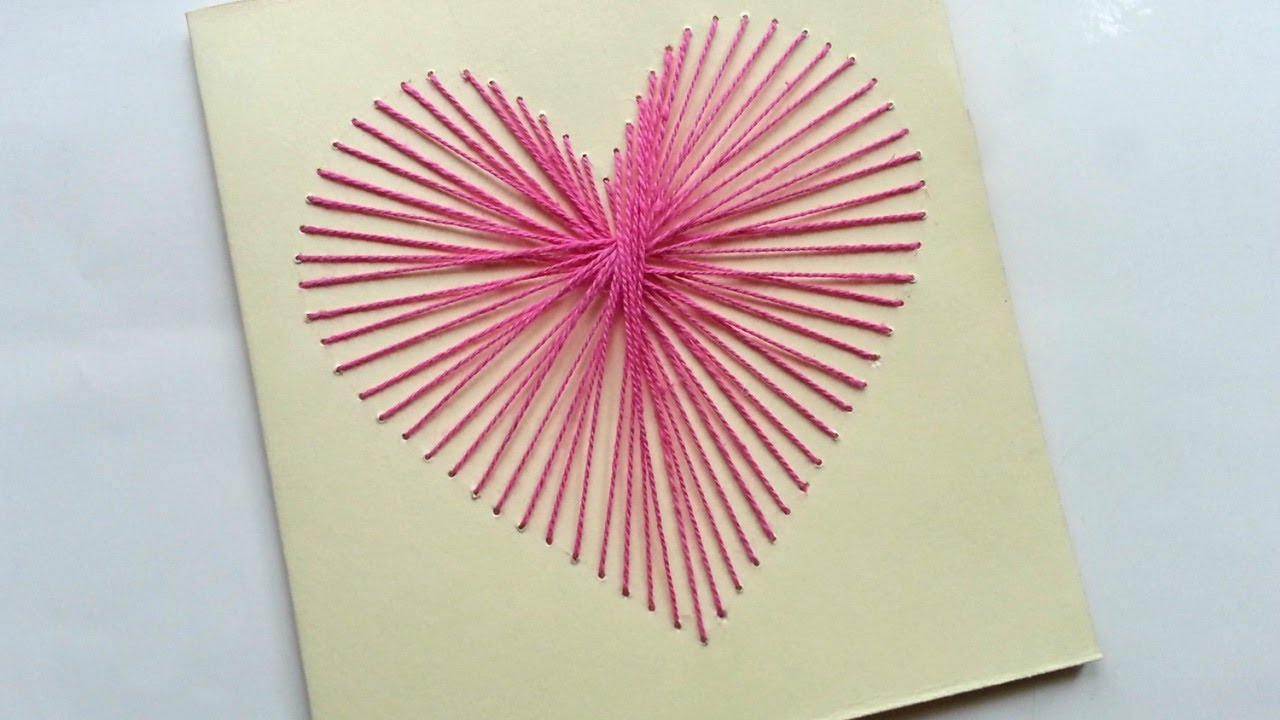
Open up your paper and lay one of the pieces of string on one side of the paper. Lay the string across a piece of paper so the ends hang off the edges.
Pin On String Art
Dont put the holes too close together.

How to do string art on paper. Cut out the shape and then punch holes all around the perimeter of the shape. Steps to making your paper plate string art. This is pretty self-explanatory.
Youll then have a nice outline pattern for your string art project. Cut out your shape. Fold the paper so its closed with the string inside.
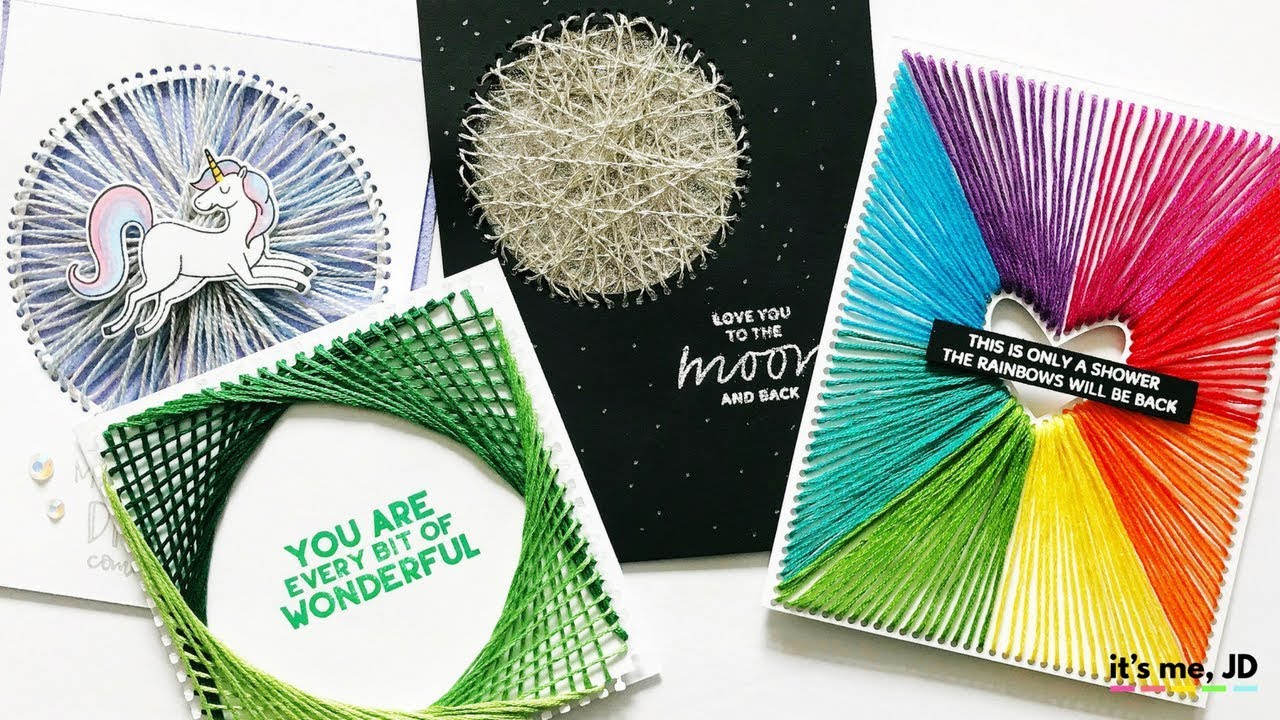
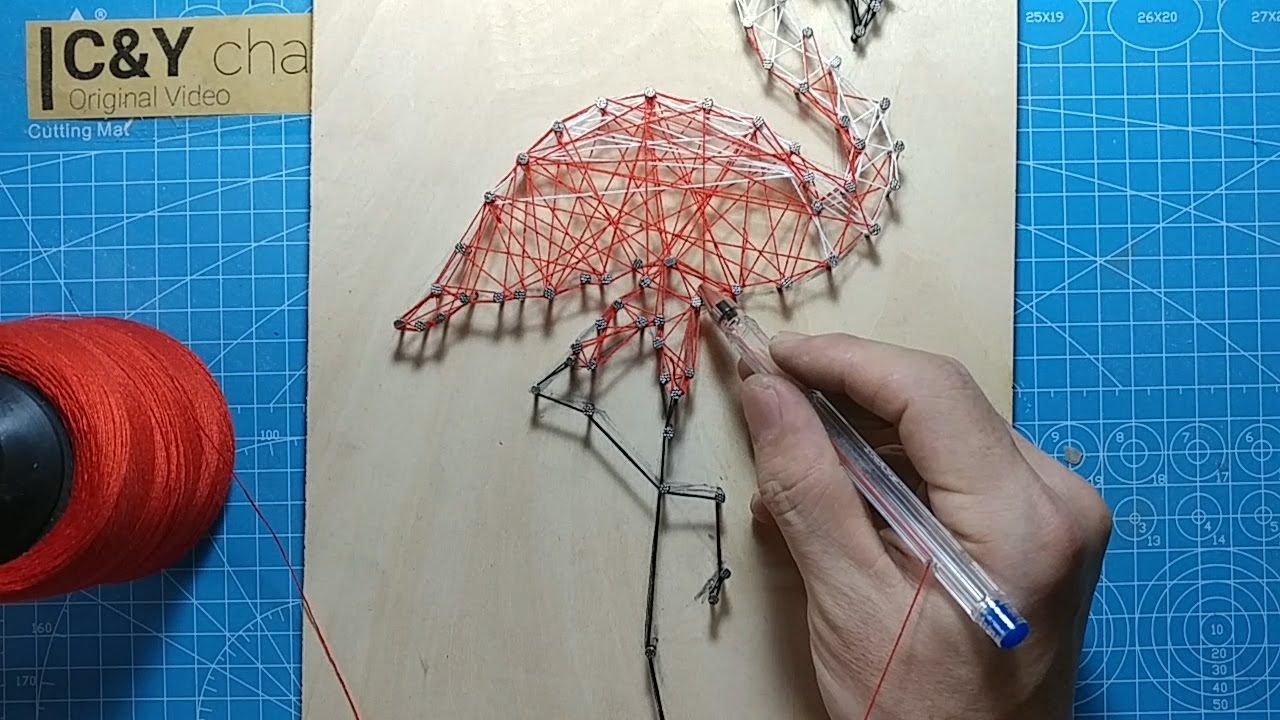
Once you have your canvas ready you can then add some words if youre not adding any text skip down to How to Make String Art below. Insert your nails into the cork following the outline of your template. Consider using a ruler and a colored pencil on paper to create the design or follow the pattern first.
Using embroidery floss outline the perimeter of the shape. Just do your best to keep each section going together and not out of sync. Leave a tail sticking out of the bottom.
There are so many different patterns and ways you can create string art that its hard to do it wrong. Next gently nail veneer pins into the wood around the edges of the paper so theyre evenly spaced. I however am not that person.
If you dont you may end up with paint blobs. Cut off excess string. The first evening that I began experimenting with string art I stayed up until 330am as captivated by this new form of making as I had been when I first began making rope bowlsJust like the bowls its often a surprise to see exactly how the piece will turn out and what form it will take - its really thrilling to watch the point at which a curve begins to form threads begin to cross over.
Your paper plate string art will take a lot more yarn than you think. Tips for Making String Art. Pour your watercolors into the small jars and plop one string in each jar leaving.
You will sometimes have to wrap two outside nails around the same inside nail or two inside nails around the same outside nail. Fold your piece of printer paper in half and put it in the middle of your open book. To make string art first draw a design you want to create out of string on a piece of paper.
If you are using the watered down tempera gently run your finger along the string as you pull it out of the cup to remove some of the paint. Once you get to the end of making the outline of the letter start wrapping the string around random nails to fill up the space. Center your template and tape it down.
After all of the nails are in place gently pull off the paper for a nice outline. Trace your desired shape onto the middle of the plate. Then cut the design out with scissors.
Make sure to use all six threads of the embroidery floss. If you need additional guidance on this step look at the finished string art photos above and below to see how I did it. Templates for the paper plate string art.
You can also use a Cricut machine to print words onto sticky paper that will adhere to the wood. How to Make Captivating Pulled String Art Step 1. Tape the design to a piece of soft wood.
After this process is done knot the string twice on the last nail of that letter. To help make the most of your art however try using some of these tips. Pull the string straight out from between the paper.
They should push in fairly easily with a little pressure except when you hit a glob of hot glue belowthen youll need to push a bit Trace the inside of the d e and a by pushing the nails right thru paper. Make it personal to you. When the shape has been outlined completely with nails remove the paper pattern.
Press down onto the paper as you pull the string back out. You can crisscross the string There is no specific way to do this you just need to fill in the space. Pour watercolors into jars.
Open and add string. Keep in mind that nail and string art can be made with just about any design. Fold your paper in half.
Gently press down the top of the tissue box onto the paper. Outline the Shape With String. Place a second piece of paper the same size if possible on top.
Begin by tying the floss to the first nail and leave a tail for tying off when you are finished. Place a tissue box on top of the paper to hold everything in place. If you have a steady hand please feel free to hand paint the letters.

Pin On Crafts And Diy

Pin On String Art

Pin On My Projects 3 Cards Art Experiments

Pin On Cards With String Art Embroidery Or Sewing Details

Pin On My Creations

Pin On Kunst

Pin Su Carte Brodee
Pin On Strings

Pin On Arts And Crafts For Kids

Pin On String Art

Pin On String Art Izonit

Pin On Nail String Art

Pin On Gift Ideas
Pin On My Favorite Things

Pin On The Art Of String Nails

Pin On Personal String Art Diy

Pin On Fun With Twine

Pin On Fonalgrafika
Pin On Diy
Post a Comment for "How To Do String Art On Paper"